
3 Easy Steps To Navigating The Backcountry
“I’ve never been lost, though I will admit to being confused for several weeks.” - Daniel Boone
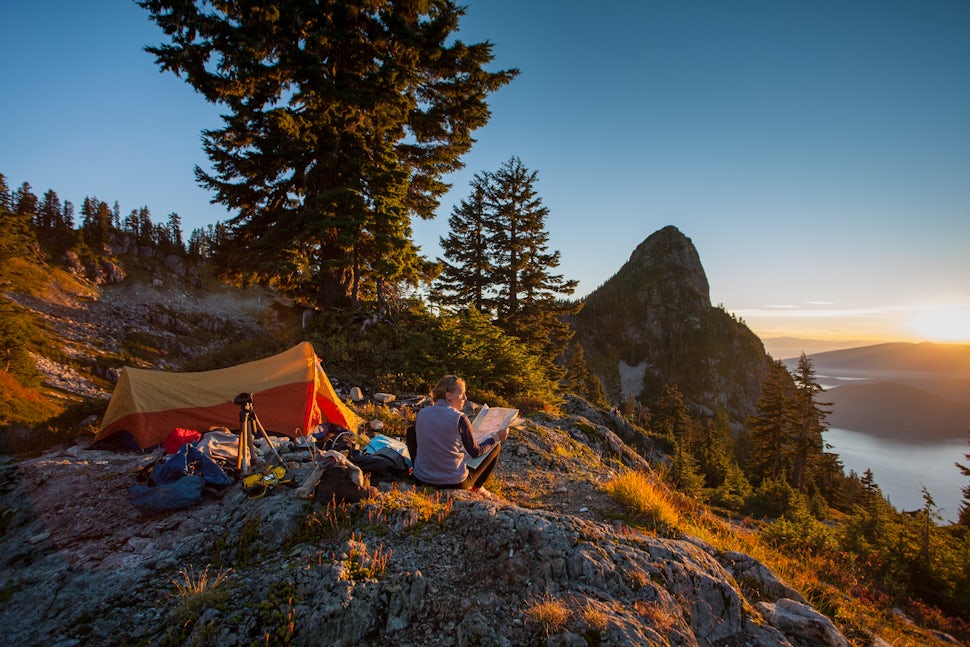
There's nothing quite like heading off the grid for a few days of exploring in the wilderness. Some people seem to have an 'internal compass' or a natural 'mental map'. If this isn't you, don't worry! You can easily learn the skill of navigation with some practice. You already navigate every day on your way to work, finding a new address or going on a road trip. Navigating through the wild is no different and with some practice you can become a very effective navigator. Here are some navigation basics to help you get started.
3 Easy Steps to Navigation
1. Where are you?
Determine where you are by using recognizable symbols on your map and relating them to the landmarks you see around you. This is called 'orienting' your map. Once you have your map oriented, you will be able to identify north, east, south and west and stay 'connected' with the map as you travel.
2. Where are you going?
Once you know where you are, take a few moments to determine what you are looking for next. Identify your next major landmark (intersection, valley, river etc) and your preferred route. Distance, elevation, type of terrain, pace, skills and strengths will all come into play when selecting the best route.
3. HACC your way there.
Using obvious landmarks, via the HACC system, can help you confirm that you are on the right track and determine how quickly you are traveling.
Handrails are well-established features that you can follow with ease for extended periods of time during big scale navigation, allowing for fast travel. Examples of handrails are a river, lake perimeter, hydro lines, roads, and main trails under your feet.
Attack Points tell you that you are getting close to your destination. Attack Points alert you that it is time to switch from big scale navigation to detailed navigation as you approach your major landmarks.
Collecting Features are the clues you pick up along the way to confirm you are on the right track. Not only are these important for staying on track, but they also increase your confidence and let you know the speed you are travelling through the map. Moving your thumb along the map as you encounter these features is a sure way to stay on track (known coincidentally as 'thumbing';).
Catch Features are easily recognizable landmarks that will stop you from overshooting your destination and going 'off the map'. These are critical for stopping you from going too far off course. Always have a catch feature in mind as you travel towards your destination as a warning to turn back if you miss your target. A catch feature can save you hours of frustration (or worse), while you are navigating in a new area or under challenging conditions.
In addition, be sure to approximate the time it will take you to reach your next landmark by using the scale for distance, and contour lines for elevation. Remember to adjust your minutes/km for the difficulty of the terrain. You may hike 5kms/hour on flat ground, but you won’t be nearly as quick in steep terrain.

No how about that map and compass?
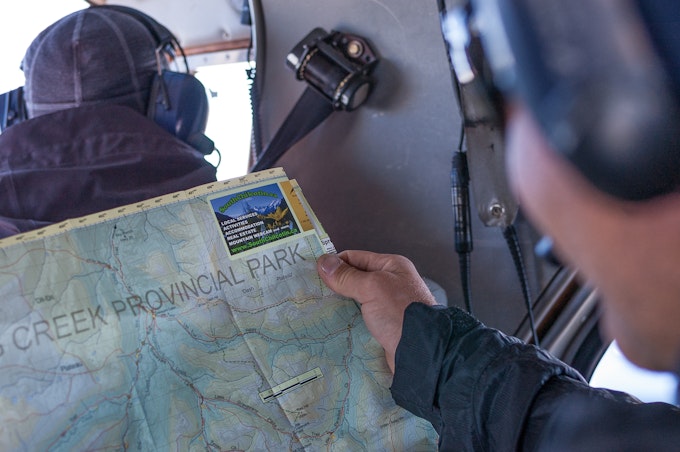
Map Basics
Important Things to Look for on Your Map
Scale: Use the legend to determine the 'scale' of the map 1:20000 scale is a much closer 'zoomed in' view than 1:150000. There will also be a bar with distances marked on it in the legend. Use this scale to measure out distances on your map using a piece of string, paper or your fingers.
Legend: Read through the legend symbols to identify landmarks on the map that will help you find your way. Common symbols include paved, gravel, or dirt roads, main trails, less used trails, railroads, rivers, lakes, buildings, marshes and contour lines to mark changes in elevation. These are the landmarks that will help you stay connected with the map, confirm your location and help you find your way.
North Indication: Look for the arrow that shows the True North symbol to help you orient yourself and the map. Topographic maps typically use True North and include a declination to accommodate for the difference between True and Magnetic North (where the compass needle points). You will need to adjust your compass to the listed declination in order to calibrate it with the map if you want to avoid having to do math while using your compass. Once you have familiarized yourself with the map and symbols, it is time to work on your route finding skills. No matter where your feet take you, as long as you keep the three steps above in mind, you should be able get yourself back on track.
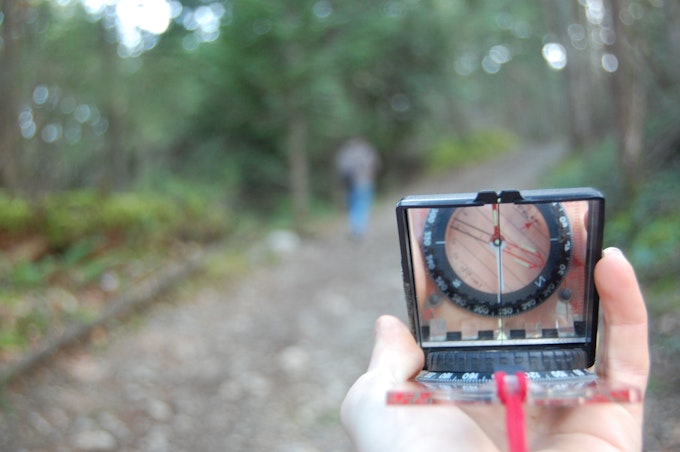
Compass Basics
Using a compass can seem intimidating at first, but really it is a very simple tool! A few key terms are:
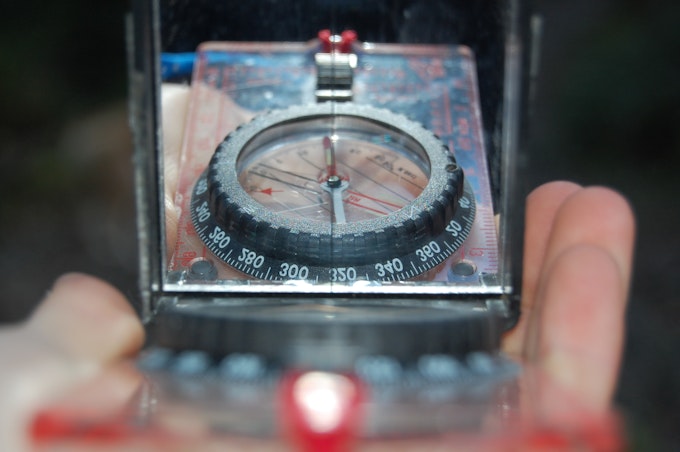
Base: the flat side of the compass, that you hold level, on your open hand with fingers pointing ahead of you.
Bezel: the dial that moves and lists the cardinal signs north, east, south and west.
Magnetic needle: the needle that floats independently and points to magnetic north.
House: the small box (often red), within the bezel.
North-South indicating lines: lines within the bezel that run vertically from the N-S signs.
Direction of travel arrow: small marking on the base of the compass (opposite string side) which should always be facing your direction of travel, when holding your compass on your open hand in front of you.
Bearing: the direction you are travelling compared to North as listed in degrees.
Two common uses for a compass are:
Orient your map: This comes in handy when you do not have obvious features or landmarks around you. Deep in a forested valley, turned around, or can't see any landmarks? Get out your compass!
Turn the dial on your compass so that North is set at the 'top' near the direction of travel arrow.
Place your compass on your map so that the NS indicating lines align with North and South on your map (use the edge of your map for a nice straight line).
Holding your map and compass flat in front of you, turn your body until the magnetic needle is 'in the house'. You are now facing north and your map is 'oriented' correctly so you know which direction you need to go.
Take and follow a bearing from A to B: Fog rolled in and you need to get off the ridge safely? Take a bearing to ensure you are heading the right direction!
Draw a line with the edge of your compass from A to B (where you are to where you want to go). Ensure that the compass is pointing in the direction of travel (or your bearing will be 180 degrees off).
Holding the base flat on your map, turn the Bezel so that the NS indicating lines are aligned with North and South on the map (Make sure you set North at the top). Now your compass is calibrated with your 'bearing'.
Step away from the map. Hold your compass correctly in your hand and turn your body until the needle is in the house. That is your direction of travel! Sight using a landmark (tall tree, rocky outcropping, hill, etc.) as far away as possible (using the notch in your mirror if you have one) and head to that landmark. When you reach the landmark, repeat, continuing to sight until you reach your destination.
Navigating is fun, challenging and a great way to spend time in the woods. There are many more tricks, tips and strategies you can use to increase your accuracy and your speed while navigating with a map. Check out your local orienteering club for clinics, events and resources in your area.
Cover photo: Matt Hosford
We want to acknowledge and thank the past, present, and future generations of all Native Nations and Indigenous Peoples whose ancestral lands we travel, explore, and play on. Always practice Leave No Trace ethics on your adventures and follow local regulations. Please explore responsibly!
Do you love the outdoors?
Yep, us too. That's why we send you the best local adventures, stories, and expert advice, right to your inbox.


