Backpacking Iceland's Laugavegur Trail In a Nut Shell
An incredible 65+ mile trek that has been photographed time and time again for its beauty. You should have no question as to why you should add this to your next trip!
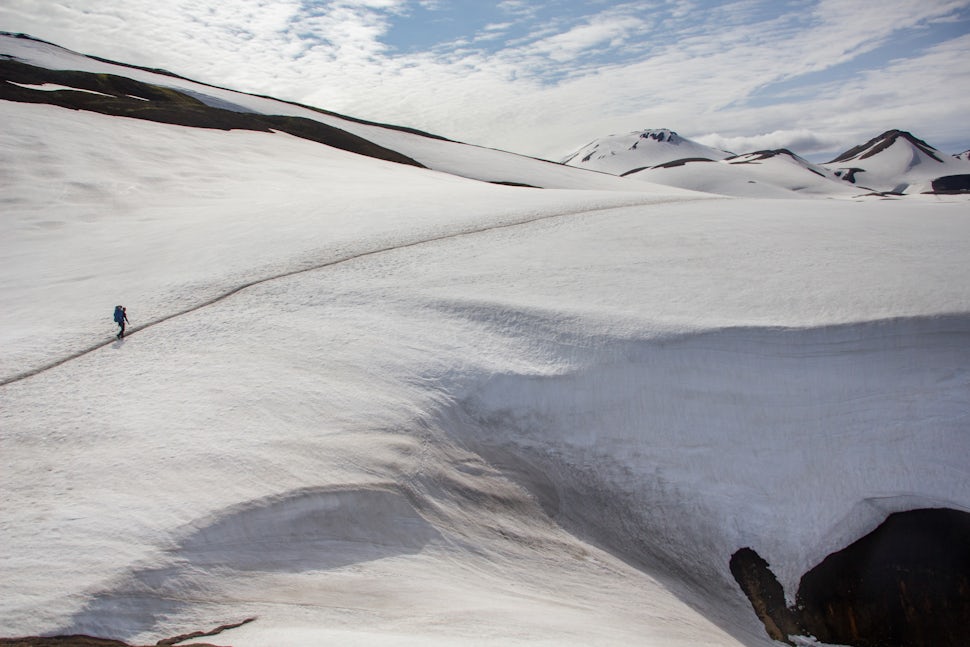
Are you one of those backpackers that have a huge list of places to see and hike? I'm sure Iceland is on that list. And why wouldn't it be? Before trekking this trail, I'd seen my fair share of pictures of Iceland. Who wouldn't fall in love with the views that we've seen countless times from photographers around the world including Chris Burkard's awe-inspiring Highlands' shots?
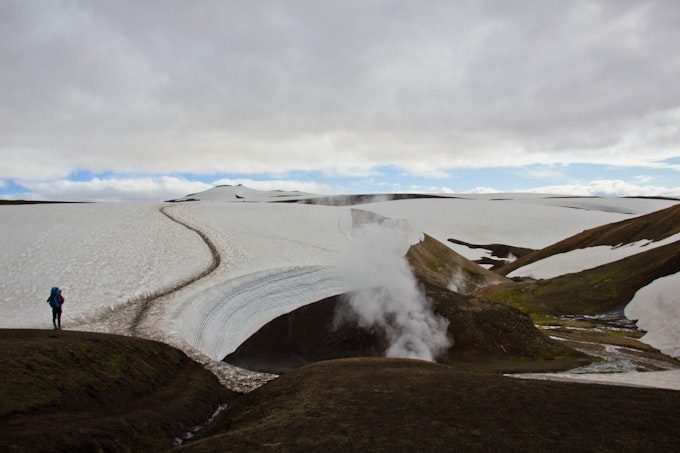
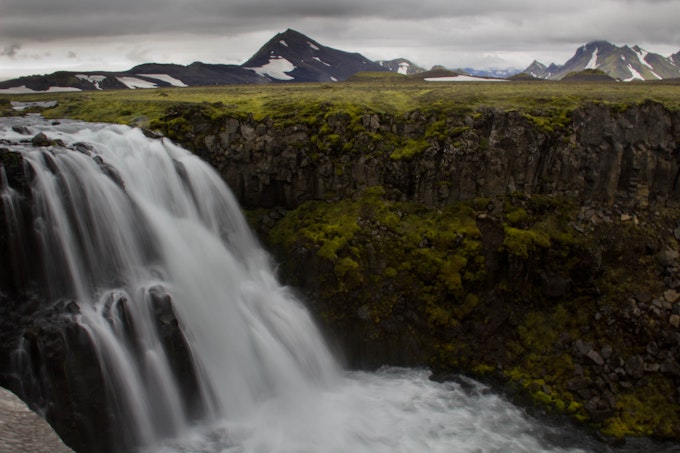
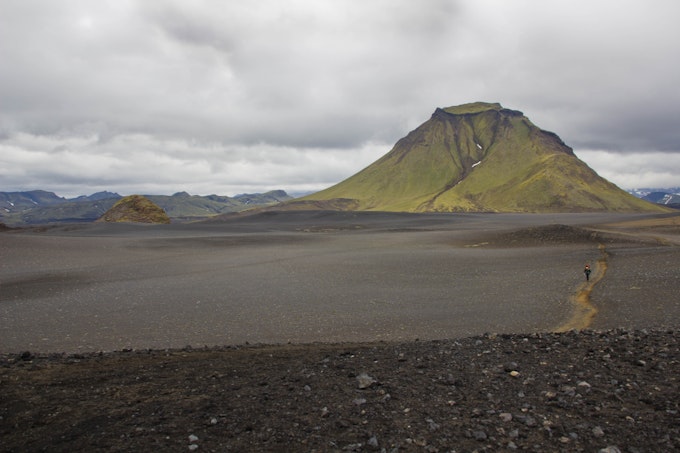
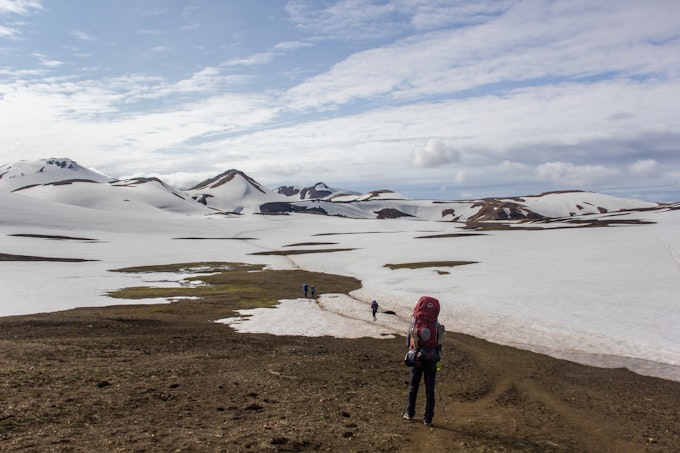
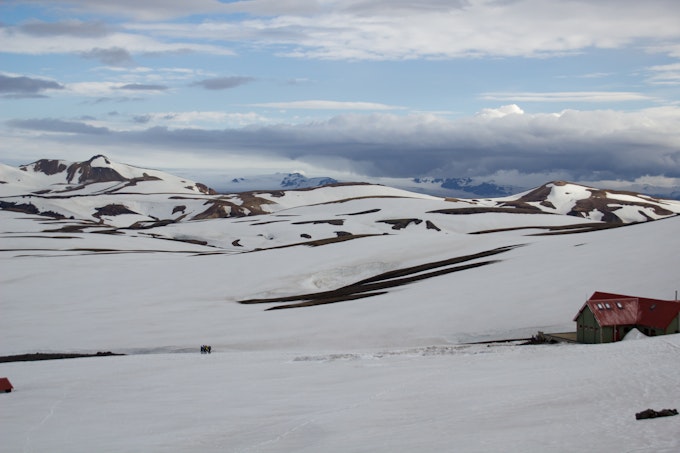
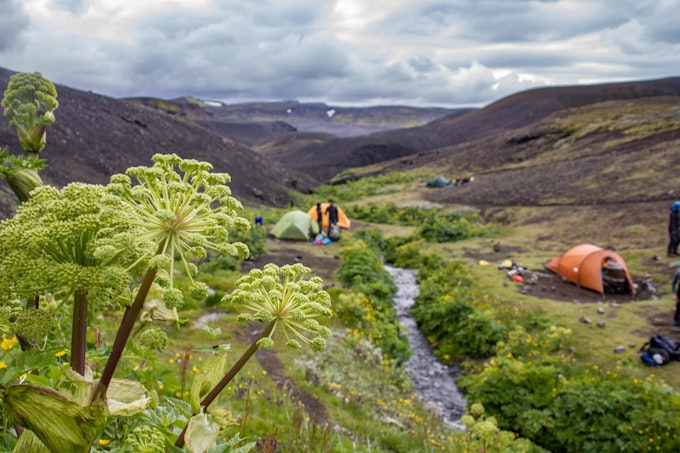
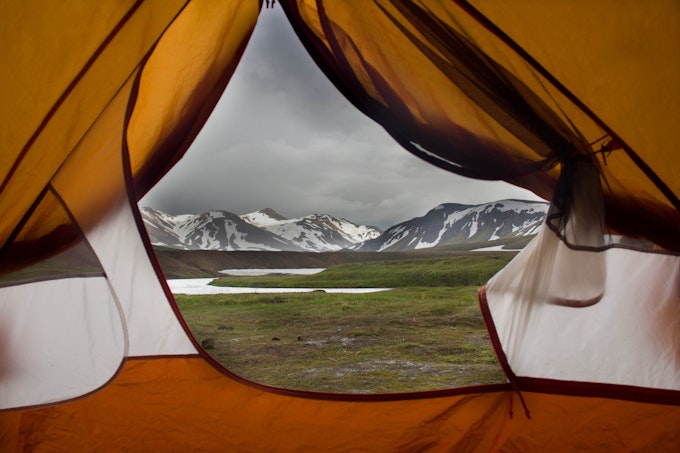
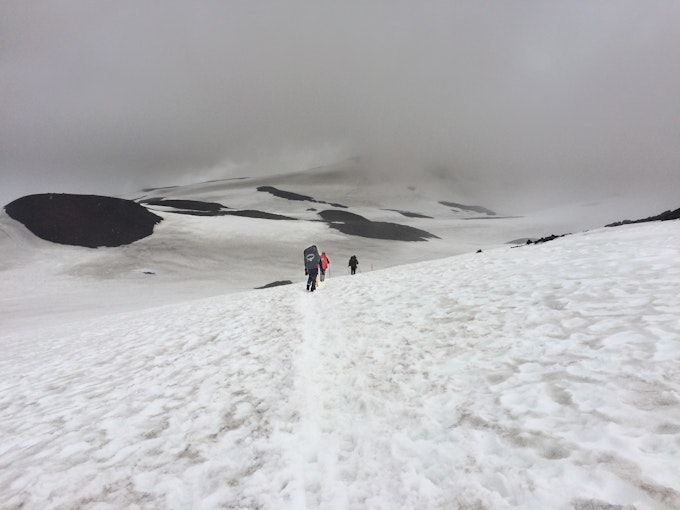
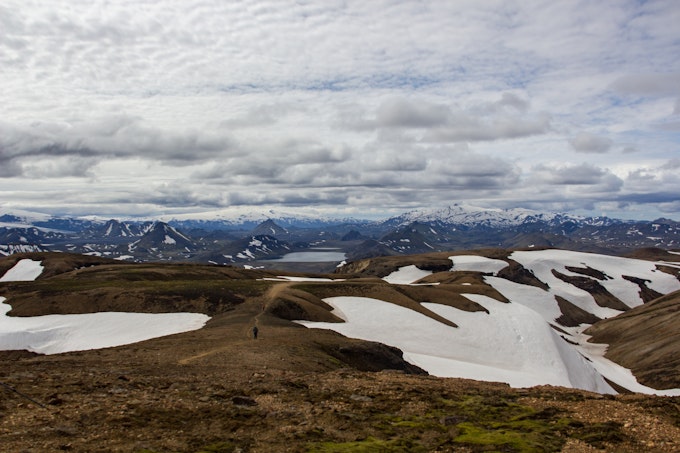
You should expect to pass through a very colorful, varied landscape: from rainbow-colored hills to black volcanic valleys and crevices, neon green valleys to ice caves and all while some steam rises from the hot volcanic rocks. Don't be surprised by the lack of wildlife or trees, only wide open landscapes that seem to have come from another world.
Here's the gist in a nut shell to help you plan for the Laugavegur Trek, from how to get there from Reykjavik, to where to stay on the trail, and finally what to pack.
First, go read the two adventures posted here on The Outbound for the first 4 days worth of the trip and the additional last two days of the trip to Skógar.
The window to do this trek is only 2-3 months out of the year, mid-June through mid-September. Any other month you'd want to go, the roads leading to and from the trail are impassible, and buses do not run. Depending on weather, there may be too much residual snow to make the trek in June. We backpacked the end of July and were even worried then, as they had record snow fall of over 30 inches dumped in a week. I would recommend planning your trip for end of July and into early September to be safe.
1. North to South or Vice-Versa
Once you've picked the time you'll do the trek, it is then you will want to decide if you want to do the trek from north to south or south to north. Buses can go to either points. Going south to north means more elevation gain, climbing-wise. Starting your trek in Landmannalaugar and ending in Þórsmörk or Skógar is the most popular route direction. You can take advantage of less crowds if you wanted to go south to north. We saw only 10+ people hiking that direction during our trek, however, there was at least 30-40 people going in the direction we did (north to south) during the same days we did.
2. Bus Schedule: Get Your Transportation In Order
Now it's time to check to ensure buses are running on the days you want to start and end the trek. Reykjavik Excursions is the main bus company serving Iceland, but Trex also runs buses to the trailheads. You’ll want to check what time buses run between Reykjavik and Landmannalaugar, as well as Reykjavik, Þórsmörk, and Skógar. Depending on if you end your hike at Þórsmörk or Skógar, buses will pick you up at either location.
3. Planning Out The Trek
You can do the Landmannalaugar-Þórsmörk section comfortably in 4 days/3 nights; however, if your time in Iceland is not so limited, I HIGHLY encourage you to add extra days to venture out to the additional trails along the way. You have a quite a few options here:
- Stay an extra day in Landmannalaugar : The only swimmable hot spring along the trek is in Landmannalaugar. Take the time to do some short day hikes and finish with a long, soothing dip in the hot spring. There are some incredible views here, including seeing some of the famous Icelandic horses roaming the area.
- Add an extra day to trek from Þórsmörk to Skógar : This section of the trek was one of my favorites, as it is littered with waterfalls and craters and snow covered glaciers. It’s doable in about 10 hours, but we decided to take refuge at the huts in between the two glaciers Eyjafjallajökull” and “Mýrdalsjökull.
- Add one or more days to hike around Þórsmörk: Þórsmörk is a paradise for day hikes, which you can enjoy without having to lug around a heavy backpack. There are hikes you can follow into the valley or up into the surrounding mountains, most of which run through the forest – something that the rest of the trail is sorely lacking.
4. Book Your Huts Or Camp
As soon as you know approximately where you’ll be trekking each day, you should decide if you'll be camping or staying in huts. This boils down to if you want to lug a tent around or not. We opted to do a mix of tent camping and hut during the days we were in higher, colder, and more wet elevations. If you book huts, they highly recommend trekkers book several months in advance. The huts are in full operation while the buses are still running to/from the trail; if buses aren’t running, then the huts are closed for the season.
Most huts along the Laugavegur Trek are $55-60 US per night. This may sound like a high price, when you add up all the days on the trail, but remember that you'll be spending a lot of your days in misty rains and cold. In addition to heat and beds, these huts come fully equipped with kitchen utensils, lighters, tables and benches, and bathrooms. Some even offer hot showers-5 minutes for $4 US.
Camping usually runs about $10 US per night, plus $4 to use the hut kitchen. We made friends with lots of trekkers on the way and ended up having dinner with them in the huts and then retreating back to our tents at night. It wasn't so bad. Unless you're like my tent mate who had his air pad deflate unexpectedly from a hole and slept on the cold snow the first night. After that he made the chance at every stop to see if there was any beds available from last minute cancellations. Only a couple stops were fully booked, but the rest had availability.
These are the huts available for booking along the trail (in order from north to south):
- Landmannalaugar
- Hrafntinnusker
- Álftavatn or Hvanngil
- Emstrur (Botnar)
- Þórsmörk (Langidalur)
- Baldvinsskali or Fimmvorduhals
When staying at these huts or camping, you are expected to pack in and pack out all trash. Each hut is looked after by a warden, who will ensure the heat is turned on for the evening and that everyone is checked in for the night, who has a bunk reserved. Wardens are happy to provide trekkers with information about the trek. Be sure to ask them what the night hikes are at their hut! Some wardens assign bunks, while others leave it first come first served. The nice thing is that they tend to assign the double beds to those who have booked together and save the single beds for the solo trekkers. If you’re concerned about potentially having to share a double bed with a stranger, you might want to arrive early to make sure you get first pick. The huts offer only the wooden bunk and sometimes the thin pad to sleep on. You will need to have your own sleeping bag and pillow.
5. What To Pack
There isn't any places to buy food for meals along the trail. There is a restaurant at Þórsmörk that you can eat at for when you are at that area. We planned ahead by packing all freeze dried meals in our pack and bringing a backpacker stove (Jetboil and MSR).
Water is available at all the huts along the way, except for the last day, if you stay at the Fimmvorduhals hut. There is no running water, and we had to use the gas stove to melt snow to use for water the next morning, until we finished in Skógar. Be sure to bring water tablets and let them dissolve for at least 30 minutes. Most of the water we collected from the streams smelled like sulfur from the volcano rock and had a slight taste of sulfur to them. We had no issues with drinking the water after using the water tablets. Just keep in mind it isn't the crisp, refreshing glacier water you may be expecting for all the natural water sources outside the huts.
Weather is very unpredictable in Iceland. You should go into this expecting rain, wind, and hail, and then consider yourself lucky if you’re not met with all three!
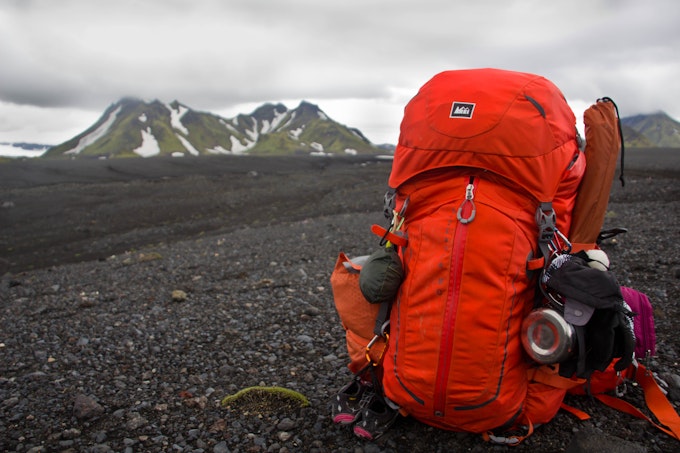
In addition to the obvious jacket and wool layers, be sure to include these must-pack items in your backpack for the trek:
- Down jacket
- Hiking boots
- Wool layers
- 60-70L backpack (if doing full trek)
- Backpack raincover
- Trekking poles
- Sleeping Bag
- Headlamp
- Rain jacket and rain pants
- Wool socks
- Gloves
- Water bottles and/or Camelbak that can hold at least 2L in total
Note: I brought enough hot hands to use 3 a night. I was laughed at by my tent mates on the first day for bringing that extra weight. After our first night of camping in a snow cave and one of the tent mate's sleeping on the wet snow ground (see story told above), they were no longer laughing. I ended up trading one hot hand for m&m's and via brew coffee every day for them for the rest of the hike. Winner winner chicken dinner!
It was quite freezing at night during our trek, which wasn't planned. It was below zero one night, and by far the coldest I've ever slept in a tent in all my hiking. Again, I emphasize the fact we went during record snow fall during July. Your hike may not have as cold of weather and may not need those hot hands, but I lucked out.
Enjoy your time with the other backpackers. During one of our dinners, we went around the table listing off where we all were from. Our table included people from all over the world that consisted of 6 continents! How unique and amazing it was to sit with so many different cultures in one place and witness the interactions! From us Americans, to the matching, Arc'teryx-outfitted from head to toe Chinese group, to the Irish men that brought that HUGE, glass bottle of Jameson Whisky, to the lovely ladies from Barcelona, to the world traveling father and daughter from Holland, and many more wonderful people!
Expect to be amazed by everything you see in Iceland. It's fantastic!
We want to acknowledge and thank the past, present, and future generations of all Native Nations and Indigenous Peoples whose ancestral lands we travel, explore, and play on. Always practice Leave No Trace ethics on your adventures and follow local regulations. Please explore responsibly!
Do you love the outdoors?
Yep, us too. That's why we send you the best local adventures, stories, and expert advice, right to your inbox.


