
5 Tips for cooking with your Dutch oven

I don’t know about you guys, but I get tired of the same ol' meals in camp. I think Dutch Ovens can scare a lot of people or seem intimidating, but the truth is, they can be fun and easy to use and create fantastic meals. They can deliver tasty meals for most groups of fancy folk in your campsite whether you are camping with two people or eight. What I love most about Dutch Ovens is that they are easy to use, easy to clean, and easy to make really tasty meals. Check out these 5 tips for cooking with your Dutch Oven before your next camping trip and proudly fill your camping buddies' bellies.
1. Season before you cook.
In my opinion, some of the most important steps are proper care. If you take your dutch oven out for use for the first time without seasoning it, you will be in for some nasty clean up. The way I season my dutch oven - or any cast iron for that matter - is to coat it with veggie oil and bake it for an hour or so in the oven at pretty much the highest your oven will go - 500 degrees is the recommended temp. After an hour, turn the oven off, let it cool, and you are ready to cook! This prevents sticking and increases flavor. After one time, as long as cleaning is a breeze, you will just cook and cook and cook without ever needing to re-season it.
2. Cleaning should be a breeze.
If you've seasoned your dutch oven properly, a simple wipe out with a paper towel or sponge should usually be the extent of your cleaning. If for some reason you need to scrub pretty hard and use some sort of soap, you will want to re-season your dutch oven. If you'll be cooking with your dutch oven a lot, a good practice to keep is to have a scrub sponge and oil in your car camping gear.
3. Keep your cooking timeline in mind.
About 30 minutes before you want to start dinner, you need to start a campfire. Keep in mind, dutch oven meals usually take around an hour or so. So try to start this process a couple hours before sunset so you're not cleaning up in the dark. Don’t want to leave any scraps behind for the animals, nor miss any photo chances at sunset because you're busy handling dinner.
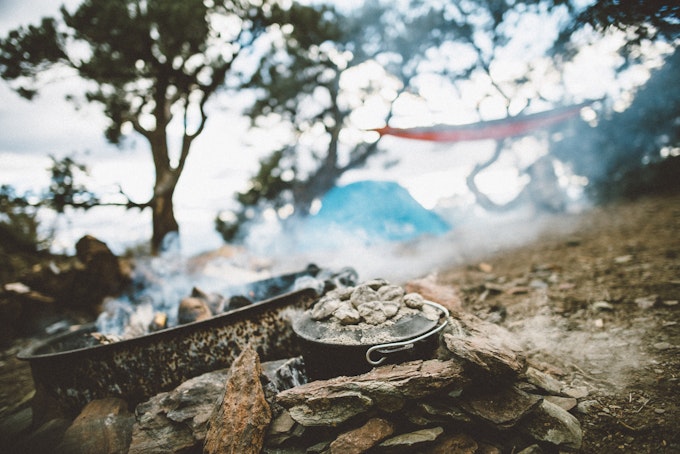
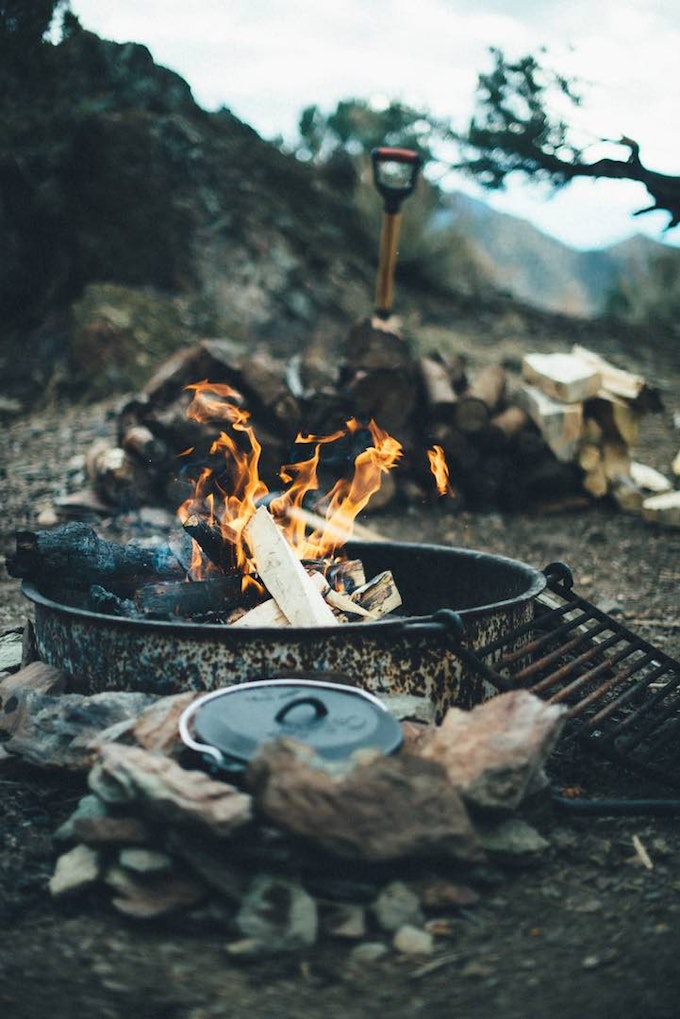
4. The coals cook the meal, not the flames.
Once you have an established fire, keep some logs going until you have some nice coals going. Coal cooks the oven, not burning logs! Some fire pits at campsites have a spot for this, but if not, gather some rocks and create a little pit on the side of your fire. Once your coals are ready in the main fire pit, you can scoop some into your dutch oven pit. You’ll want to save some for the top of the oven as well so the meal is heated from above and below. Toss your dutch oven on the bed of coals then pile some on top and wait...be patient as opening the lid over and over will allow heat to release and delay the cooking process.
4. The potential for meals is endless.
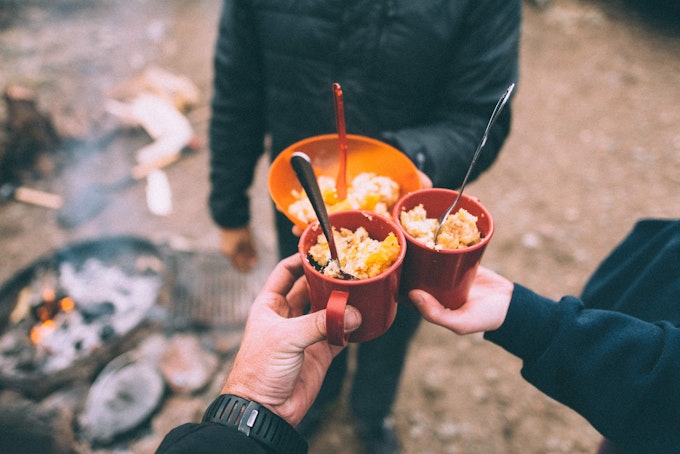
Oh, the options you have with this cooking method. Breakfasts, dinner, and even desserts! It's all fairly easy no matter what you cook, managing the cooking time is your only worry. You really can't go wrong, even if you don't have a strict recipe...you can easily toss in whatever ingredients you think go well together, put the lid on, and cook for about an hour. This works great for some of my favorite types of meals like stews, chilis, and cobblers... don’t forget that biscuits and batter mixes work well in these, which brings us to my final tip.
5. Gregg’s Peach Cobbler
I will let you search for recipes that suit your taste buds (dutchoven.net is a great resource for recipes and more tips), but this peach cobbler is one of my favorite and easiest treats and is a great one to start off your Dutch Oven cooking.
Ingredients:
- 1 box of yellow cake
- 1 20oz bottle of ginger ale
- 1 bag of frozen peaches
- 1 heavy pour of your tasty beer
- 1 shot of whiskey
Pour desired amount of peaches in, dump the cake mix in, pour your ginger ale in violently as this will be your only stir, and dump the booze in for good luck. Don't worry about the mix either, the combination of mixed and unmixed batter will be tasty as it leaves a crumble texture in places amongst the moist, dense sweetness. Lid it and put it on the coals. This recipe will need an hour on a solid layer of coals along with a handful of coals on the lid.


