
How to Take BETTER Photographs with That Expensive Camera
By no means am I a professional photographer (but my mom says I'm the best in the world. Notice the title does not say "the BEST photos"). These are just a few tips that I have learned in the past couple years with a DSLR.
If you are reading this, I am assuming that you love the outdoors and taking pictures of the places you go. If you are getting serious about packing that huge DSLR or other digital camera into your day pack or backpack to capture stunning views, waterfalls, or the night sky, let me try and help you with a few tips that I have learned.
1. Practice, practice, practice.
It is very rare that someone starts out being a pro at something without hours of practice. Buying an $800 camera does NOT mean your photos will be 800x better. Sure, the quality and resolution will be better, but pointing and clicking with a camera phone is the same as doing it with that expensive camera if you do not know how to use it. Take time to learn the settings of the camera and shoot on MANUAL mode. That means you have to set the ISO, Aperture, and Shutter Speed to properly expose your picture. I will not get into detail about how to do all that because there is the internet to look it up. The point here is to practice as much as you can, try new scenarios (long exposure- use a tripod, portraits...), watch YouTube videos on stuff like composition, color theory, and post-processing, and try to create something every day.
2. Buy lenses instead of camera bodies.
You do not need a full-frame camera body. They are expensive and you will not notice that much of a difference from a crop-sensor body. Spend your money on a few good lenses. If you are into landscapes, pick up a wide angle lens. The Tokina 11-16mm is great for the price. Also, pick up a telephoto lens like an 18-200mm or a 70-200mm if you are willing to spend the cash. I found that getting a cheap 35mm or 50mm prime lens offers unique perspectives as well. Ken Rockwell offers fair reviews on just about every lens that has been made. http://www.kenrockwell.com/tec...
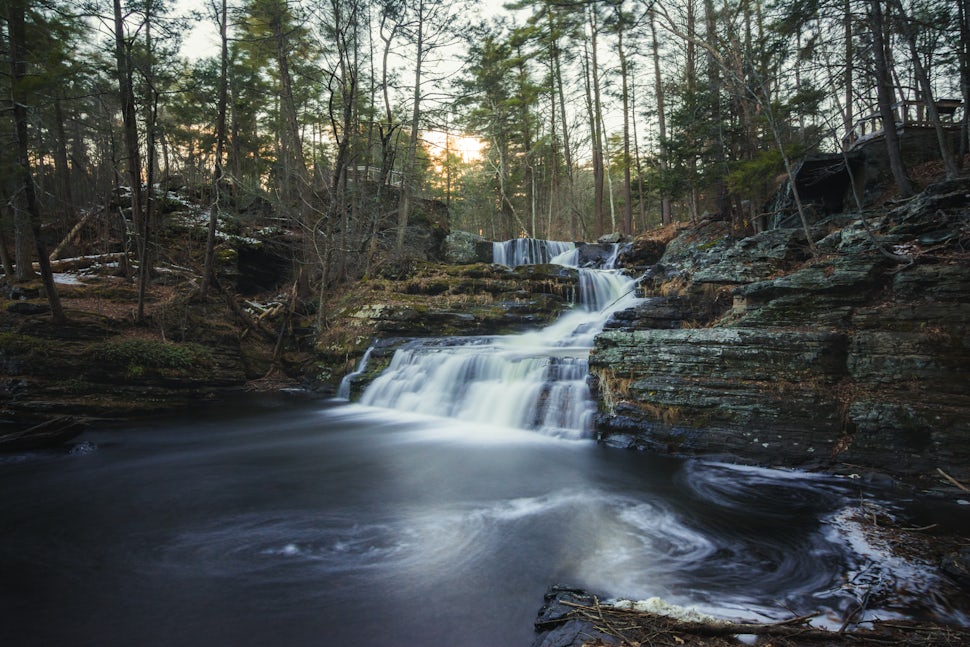
3. Post-processing is very important, RAW files are your friend.

This is a RAW file, straight out of the camera.

This is after processing it in Adobe Lightroom.
RAW files let you make more adjustments while editing than JPGs. You will need a program to read these files, I use Lightroom for 95% of my editing as do a lot of professionals. It actually does not cost that much as people think. It is only $9.99 a month! Using this program is not super easy, but it does not take long to get the hang of it. Again, there are thousands of videos online on how to use Lightroom.
These were the most helpful things that I learned in the past couple years. There is still so much that I have to learn as well. When I learn more I hope to share them with you!
We want to acknowledge and thank the past, present, and future generations of all Native Nations and Indigenous Peoples whose ancestral lands we travel, explore, and play on. Always practice Leave No Trace ethics on your adventures and follow local regulations. Please explore responsibly!
Do you love the outdoors?
Yep, us too. That's why we send you the best local adventures, stories, and expert advice, right to your inbox.


