
5 Tips for Backpacking Above the Treeline
Things I wish I’d known before I headed out.
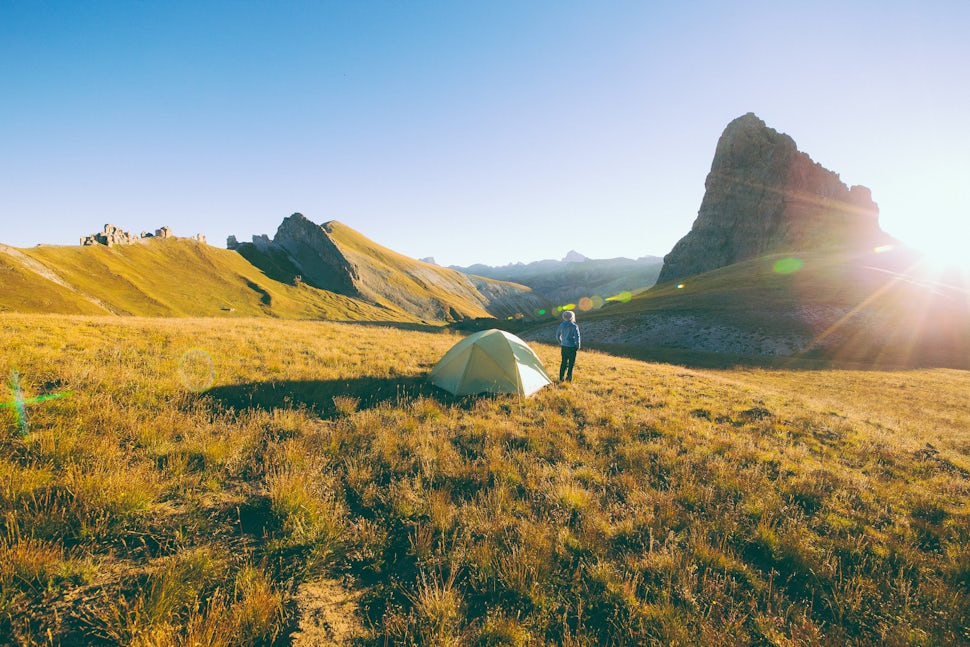
I’ve been on wilderness backpacking trips since I was eleven, and while that by no means makes me an expert, it makes me comfortable planning backcountry routes. But a couple of weeks ago was my first time solo planning a route at higher elevation. Turns out it’s a little different. Not too much, but enough that I wrote down the following tips in my journal.
1. Pack layers.
When you’re above the treeline, the weather can change fast, and it can change frequently. Check the forecast before you go, but be prepared to face rain or sun —and above all, untempered wind. Which means you want to be able to add and remove layers quickly and easily. A rain jacket doubles as a windbreaker. Zip-off pants are legendary.
I don’t know the meteorological science behind it but I know that storms are frequent in afternoon at high elevation. Depends on time of year and location, but keep that in mind. Know what to do in case of lightning.
2. Bring a topographic map.
When you’re navigating between valleys at the end of a long day, you don’t want to make a mistake and hike the wrong way. The usefulness of topography is that when all other landmarks aren’t accessible, you can match up elevation lines with the peaks and cliffs around you.
I prefer 1:25000 scale. Not that I have a ton of experience otherwise but that is what’s worked for me. Bring a GPS if you want, but I would always keep a non-electronic back-up.

3. Know your water source.
If you’re used to coastal hiking or canoeing like me, you’ve never had to think too carefully about the location of water. In the mountains, however, it’s an important factor, particularly if you’re hiking in the late summer or fall. Many of the high-altitude tributaries run dry as the water from snowmelt and early storms disappears. Do your research and have a back-up plan if the blue line on the map turns out to be a dry riverbed.
4. Position your tent carefully.
I suppose this depends entirely on your tent so I can’t tell you what to expect. I can tell you, however, that we discovered that our tent is highly flexible (and would bend in on itself) in one direction, and rigid (so that it would retain its structure) in the other. After recovering from a high-wind storm with wet sand piled against the tent wall, we relocated and rotated it 90 degrees, and have been careful to position it facing the prevailing winds ever since.
5. Wear in your boots.
Saved the best for last. If you do nothing else, wear in your hiking boots. Before you go. On top of that, I would tape moleskin onto the places where you expect to blister before you even leave. Even if you’re comfortable walking in your leather boots at home, it’s different when you’re carrying a heavy pack up a steep slope.
This one’s obvious. You do not want a foot injury.

And that’s what I have to share! Of course there is more to learn, but the best way is to get out there and try it. I wish you luck, blue skies and warm sunrises.
We want to acknowledge and thank the past, present, and future generations of all Native Nations and Indigenous Peoples whose ancestral lands we travel, explore, and play on. Always practice Leave No Trace ethics on your adventures and follow local regulations. Please explore responsibly!
Do you love the outdoors?
Yep, us too. That's why we send you the best local adventures, stories, and expert advice, right to your inbox.


