
5 Steps to Improving Your Night Photography
Time to dust off your headlamp and get shooting.
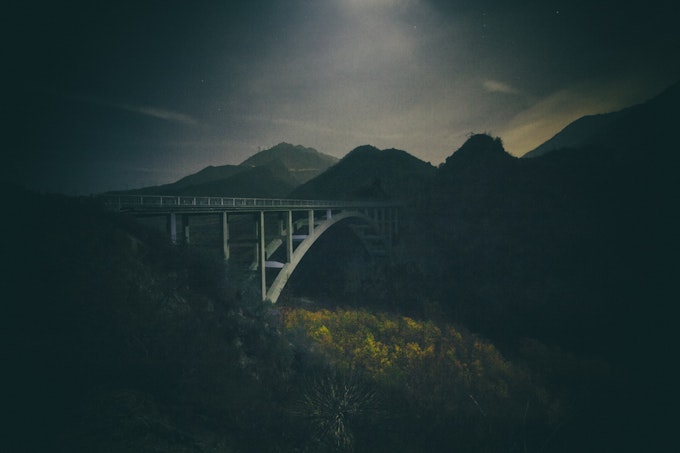
Shooting at night lets you stretch your photographic skills. Old locations become new and you can end up with some mind bending results. But before you head out you’ll need a few things.
1. The Tools
DSLR or Mirrorless Camera: You’ll need to be able to shoot fully manual.
A Good Tripod: A steady camera will make or break your shot. Camera shake is the number one factor that separates amateur night shots from a professional one. Do yourself a favor and pick up a good one.
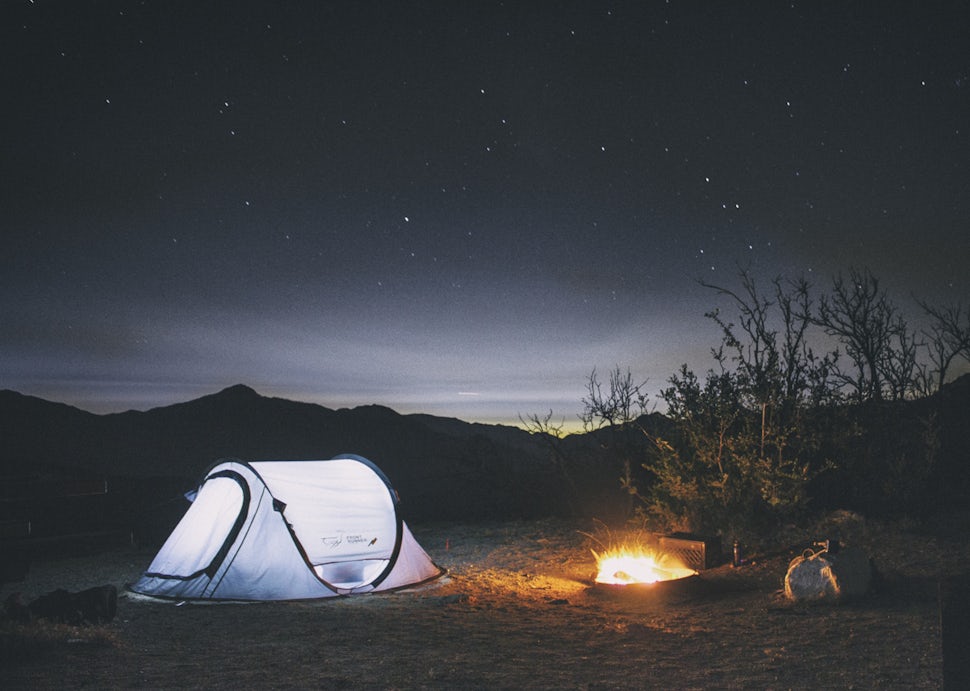
A Flashlight: You need to be able to see the buttons on your camera right? Plus, it gives you the chance to do some light painting.
Intervalometer (Optional): An Intervalometer allows you to set the shot duration higher than what's built into your camera. You won’t be stuck with a 30 second exposure with one of these.
2. Shoot in Manual Exposure
A basic understanding of aperture and shutter speed is needed in the dark, but night time image making provides a chance to experiment and have fun. Night shots allow for long exposures, sometimes as long as an hour or more. Getting the correct exposure will take some time because your in-camera light meter will be basically useless at night. You’ll need to rely on test shots to nail your exposure.
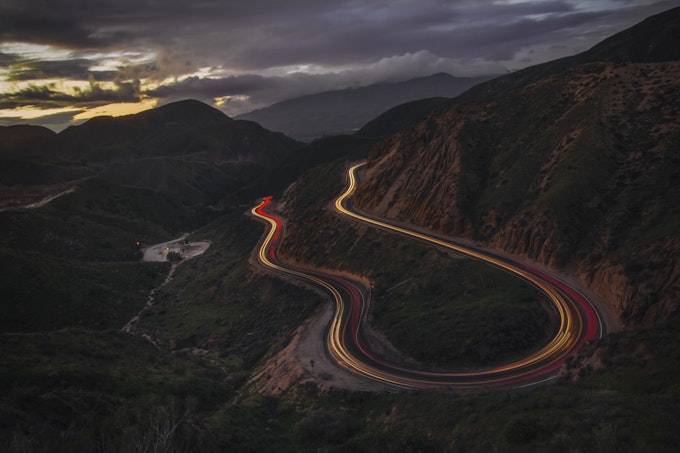
Adjusting your aperture and shutter speed is where you’ll make things happen. Stopping down your aperture can turn street lights into starbursts and help ensure your image is in focus.
The longer your shutter speed, the more movement your image will show, whether that’s light from cars or star trails. If you want to freeze a subject in the frame, hit them with your flashlight at the end of your exposure.
After you’ve adjusted the shutter speed and aperture, if you still need more light then bump up the ISO. Use the lowest ISO you can get away with because the higher your ISO the more noise in your final image. Noise makes its biggest appearance in the shadows and night photography is filled with shadows.
Also, turn of the flash. All you’ll do is blow out the foreground and plunge the background into darkness.
3. Shoot in Manual Focus
Like exposure, you don’t want your camera making it’s own decisions. With auto focus, your camera will hunt for focus on every shot.
4. Know your Destination
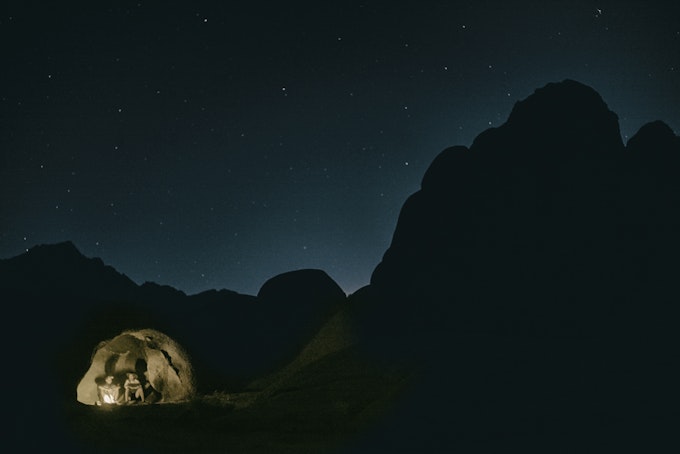
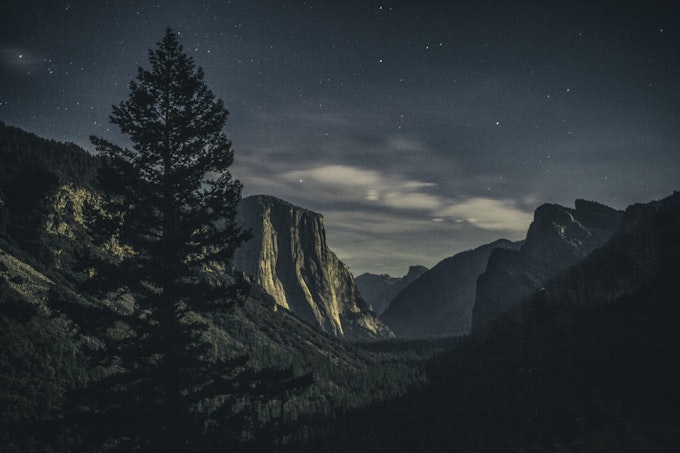
If you show up to your location at night, even a familiar spot can be unrecognizable. It’s better to have a plan than be stumbling around in the dark, trust me I know this from experience. To avoid this problem, you should familiarize yourself with your location, ideally by scouting the site in advance. Arrive at your location before sunset and take your time setting up. This will add to your understanding of what shots you’ll want to get and how to frame them.
5. Use the Self-Timer
If you’re not using an Intervalometer or Remote Shutter Release, you’ll want to use the camera's self-timer. Pressing the shutter button can cause camera shake, even with a tripod. That resulting shake can ruin an image. Use your camera's self-timer function to prevent blurry photos.
And that’s it for field work. The only thing left is to edit the photos and post them.
We want to acknowledge and thank the past, present, and future generations of all Native Nations and Indigenous Peoples whose ancestral lands we travel, explore, and play on. Always practice Leave No Trace ethics on your adventures and follow local regulations. Please explore responsibly!
Do you love the outdoors?
Yep, us too. That's why we send you the best local adventures, stories, and expert advice, right to your inbox.


