
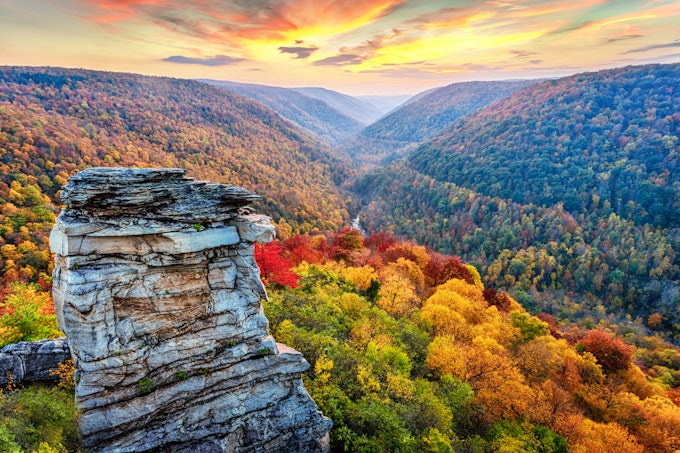
7 Essential Fall Photography Tips
Essential fall photography tips which will help you take your fall images to the next level and help you make unique, one of a kind images on your next adventure.

1. Plan Your Trip:
Planning your fall color trip is very important because photographers have a very small window to photograph fall colors once the leaves begin to turn. The weather.com fall foliage map is a great place to start especially if you are planning to travel. This map will give you an idea when a region of the U.S. typically hits peak color, but keep in mind every year is different. The fall of 2016 was VERY warm, so the leaves turned very late (if they turned at all), and the fall of 2017 is shaping up for early fall colors because of how cool it has been. This map just gives you an idea of when the region typically hits peak color, which is good if you need to buy airline tickets earlier in the year. Another great resource are trail cameras. A lot of the national parks and state parks now have live trail cameras, which will show you in real time the fall colors. Some of the bigger parks also give at least a weekly fall color report on their websites. If that area doesn’t have a trail camera, I use social media. I look at the most recent pictures posted to Instagram and Facebook and reach out to people I know living in the area I plan to visit to help me gauge when I want to travel to that area to photograph the changing leaves. But when in doubt, it is better to be early than late.
2. Lens Choice:
When most people first start photographing landscapes, they only use a wide angle lens; a few examples of wide angle glass are the 16-35mm, 14-24mm, or 18-55mm. This can be great for showing the whole scene of a large vista, but the problem is everything in the frame will be small including all of those beautiful trees turning colors. Usually unless I am able to get really close to my subject (i.e. a tree or waterfall) and am able to fill the frame with the subject, during fall my wide angle lens usually stays in my camera bag. Typically, I have found medium and telephoto lenses for example a 24-70mm or the 70-200mm, work best for capturing the fall colors. Using these focal lengths will help you isolate your subject, making it big in the frame, which will help showcase the fall colors.
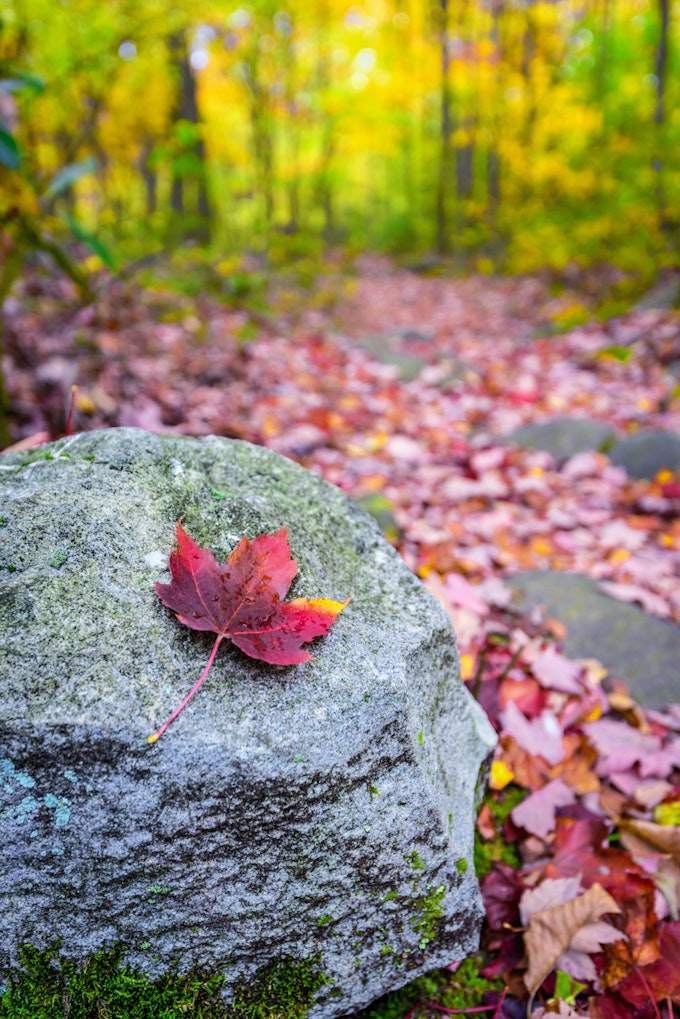
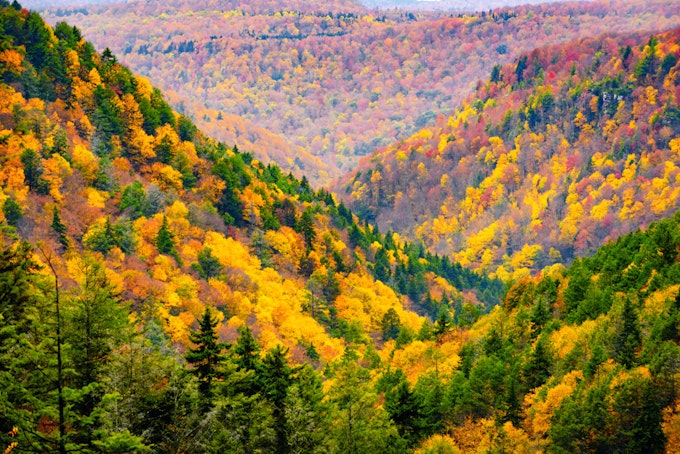
3. Composition:
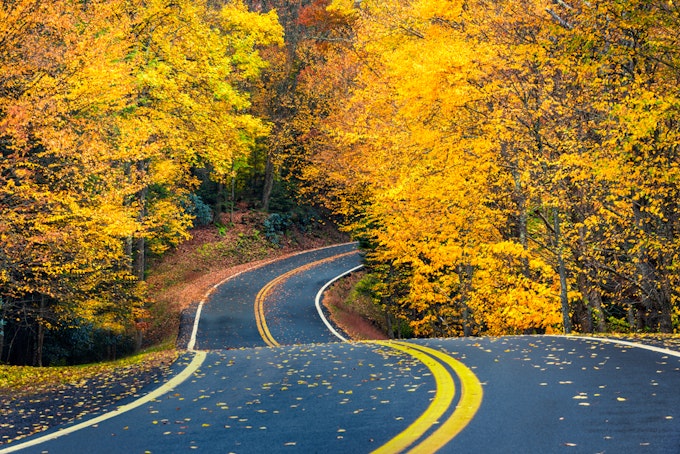
Having a great composition can make or break an image; luckily the beautiful fall colors offer photographers some unique opportunities. Usually simple compositions that highlight the color of the leaves work really well, for example isolating a bright and vibrant tree in your fame with little or no distractions is a great place to start. Also consider using patterns for your composition. People love looking at patterns, and they generally pleasing to the eye, which will help draw them into your image. Leading lines is another great compositional technique to consider using in your image because they help guide the viewers’ eyes to the subject. A road, stream or mountain ridge are just a few examples of leading lines. When the leading line is a diagonal line, it will not only help guide the viewers’ eyes to the subject, but it can also add depth to the image by showing the distance between elements in the foreground and background. There are many different ways to compose the your image to highlight the fall colors, which makes it important to know the different rules in order to apply them to different situations. For more landscape composition techniques, click here.
4. Use a Circular Polarizer Filter:
Most landscape photographers use a CP filter to enhance the color of the sky, but it can also be used to remove the glare on the leaves. Removing the glare will help enrich the fall colors to a deep natural look. Most CP filters also block 1- 2 stops of light, which will slow the shutter speed, which can lead to negative effect when trying to photograph leaves. If the shutter speed is too slow, the leaves will blur as they move in the wind, but as long as you keep your shutter speed fast enough for the situation, the positive effect of using a CP to remove the glare heavily outweighs this negative effect.
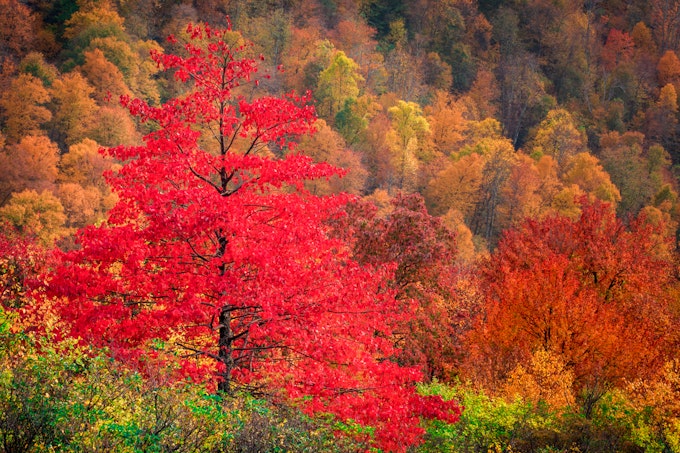
5. Add Green:
This may sound a little unusual, but adding green really helps the fall colors pop in your image. Without getting into the nuances of color theory, adding just a little bit of green, especially dark green, will create contrast in your image, which will make the fall colors look brighter and more vibrant.
6. Time of Day:
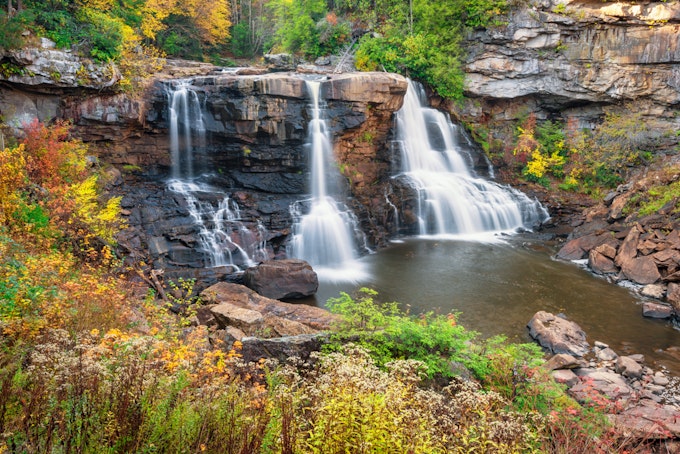
I love photographing at sunrise and sunset, but during the fall, photographing during this time can lead to more subdued colors. If you are trying to capture bright, vibrant colors, think about photographing about an hour after sunrise or an hour before sunset. During these times, the sun is low enough in the sky to provide beautiful soft light but still high enough in the sky to illuminate the leaves. If the sun is out, look for back light trees, the sun shining on the leaves on the trees can make look like they are glowing. If there on an overcast and cloudy day, don’t worry: these days also work well for photographing fall colors. Overcast skies provide even light across the landscape, which prevents bright highlights and dark shadows from creating dappled light. The overcast sky also brings out the rich fall colors. But one of the best things about overcast skies is the ability to use longer shutter, which is great for photographing waterfalls with the fall colors. A long exposure is what creates the smooth silky effect in the water. Click here for more waterfall photography tips.
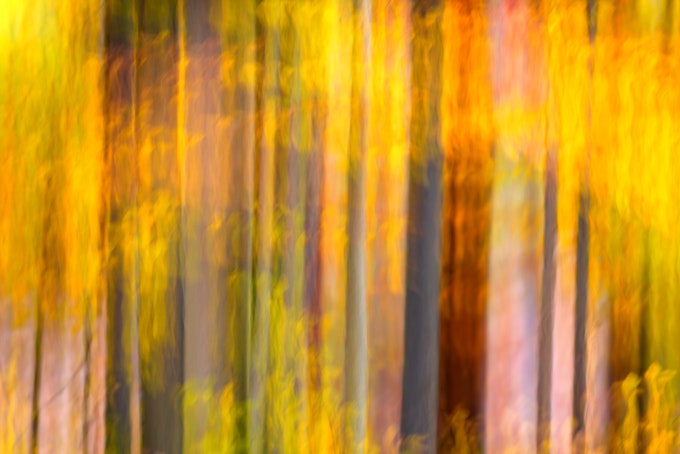
7. Experiment With Your Shutter Speed:
Fall is a great time to experiment with your shutter speed. Whether it is a really fast shutter speed to capture leaves falling or speed to capture the leaves swirling in a pool at the base of a waterfall, experimenting with different shutter speeds will help you create unique, one of a kind images. In the below image, I experimented with different shutter speeds to create this unique, abstract image. I pointed my camera at a group of trees and pushed the shutter as I slowly tilted my camera up to create the motion blur.
For more photography tips click here!
We want to acknowledge and thank the past, present, and future generations of all Native Nations and Indigenous Peoples whose ancestral lands we travel, explore, and play on. Always practice Leave No Trace ethics on your adventures and follow local regulations. Please explore responsibly!
Do you love the outdoors?
Yep, us too. That's why we send you the best local adventures, stories, and expert advice, right to your inbox.


